Employees and access
Every venue staff profile in FireMenu combines a role with a set of permissions. Together they decide which admin areas and terminals are available after sign-in (POS, delivery, reports, settings, and more).
The «Employees» section is where you create records, edit contacts and pay inputs, and fine-tune permission toggles.
Contents:
- How to open the employee list
- What the table shows
- How to add or edit an employee
- «Employee» card fields
- Role and permissions
- PIN for multi-user terminal
- Protections for «Manager» owner and yourself
- Typical scenarios and fixes
- Related articles
How to open the employee list
Confirm your account includes permission for «Employees»—otherwise the menu entry is hidden and direct navigation shows access denied.
In the sidebar open «Staff» → «Employees».
The page shows the employee table, search field, and «Add an employee».
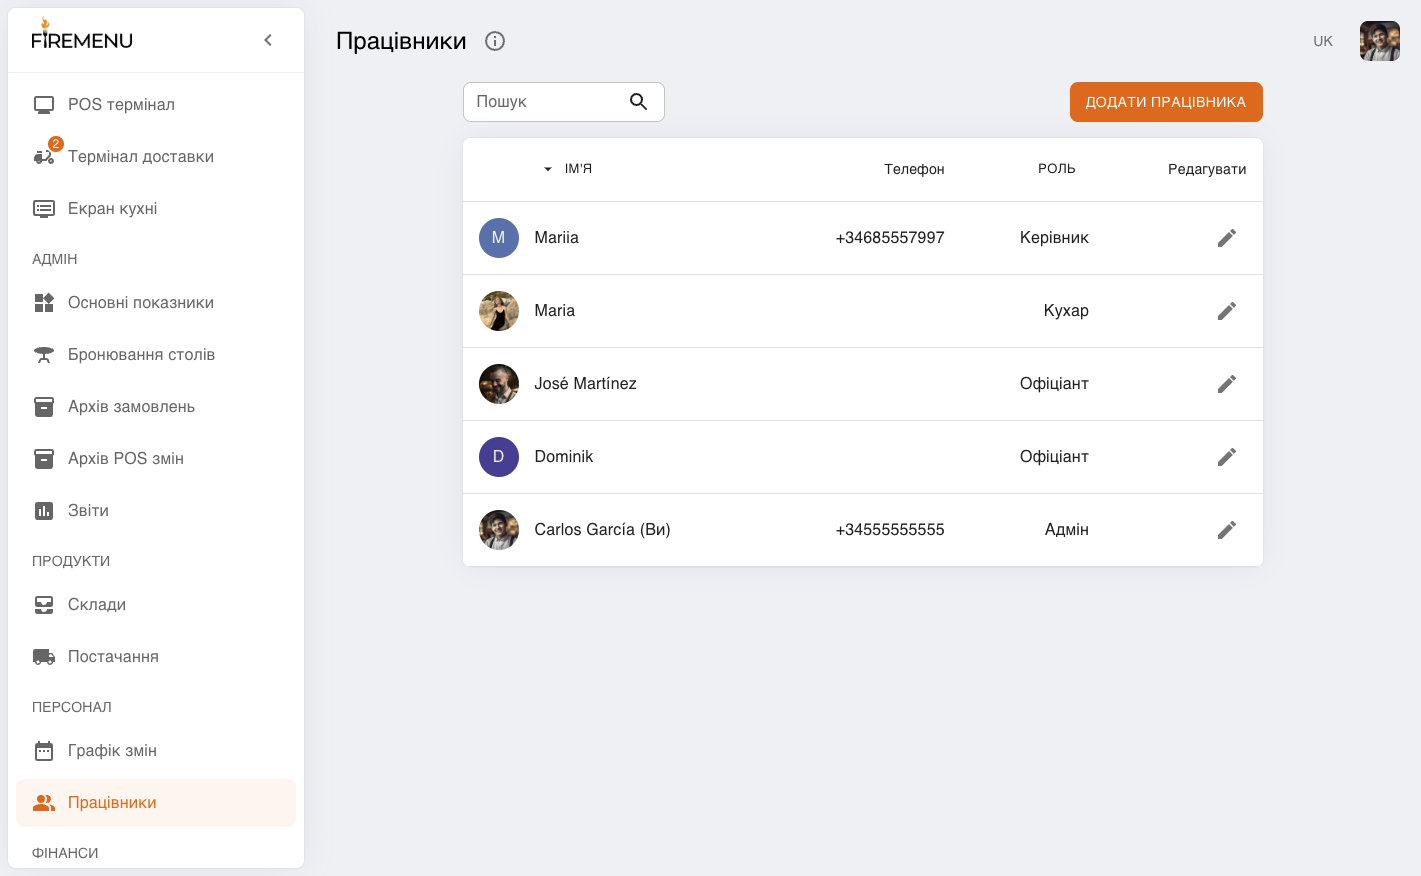
What the table shows
Image — avatar or initials placeholder.
«Name» — display name. If phone or email matches the signed-in account, (You) is appended.
«Phone».
«Role» — short label such as «Manager», «Admin», «Waiter», «Cook», «Other».
«Edit» — pencil icon opening the profile modal.
Search filters rows by name.
How to add or edit an employee
Click «Add an employee» for a new row or the edit icon to change an existing one.
In «Employee», fill fields per «Employee» card fields and Role and permissions.
Use «Add» for new records or «Save changes» for edits.
Your own row does not show Remove. Other rows can be removed unless they are «Manager».
«Employee» card fields
Left column:
Photo — avatar upload.
«Name» — required.
«Phone» — must be unique across venue employees; expected format includes a leading “+” and validated digit length. Can be used for passwordless sign-in.
«Email» — optional; must be unique when set. Can be used for Google sign-in.
«Rate per hour» and «Percentage of own sales» — used by payroll modules where configured.
Role and permissions
On the right you have «Role and permissions» plus nested permission switches.
Quick presets:
- «Admin» — broad access similar to a full administrator (trim individual sensitive toggles as needed).
- «Waiter» — focused on floor/POS work with tighter limits on finance, reports, and deep configuration.
- «Cook» — emphasises kitchen screen, order statuses, semi-finished products, stores, and a limited report set—without extra delivery/marketing zones.
- «Other» — does not auto-reset the template when switching from another role (use for custom hybrids).
Selecting «Admin», «Waiter», or «Cook» replaces the permission set with that template before save. Pick the closest preset first, then adjust toggles for small differences.
Switches are hierarchical: parent groups (POS terminal, reports, wallets, etc.) must be on before child switches become editable.
PIN for multi-user terminal
«PIN code for multi-user terminal» is four digits, used on POS when several users share one terminal—they select themselves via PIN without a full logout.
Hardware details: Multi-user terminal.
Protections for «Manager» owner and yourself
«Manager» rows have the role selector locked—owner type cannot be changed here.
For owners, «Employees» and «Allow creating a shift on login» toggles are locked—they cannot be stripped through this screen.
The owner profile cannot be deleted (remove disabled).
You cannot delete your own profile—no remove button on your row.
Typical scenarios and fixes
«Employees» missing from the menu. The signed-in worker lacks employee permission—another administrator must grant it.
Changing role resets unexpected permissions. Switching among «Admin», «Waiter», and «Cook» reloads the whole template—reapply individual toggles afterward.
Cannot access admin or sees “no shift”. Admin access generally requires an active shift unless «Access without shift» is enabled. Configure schedules in Shift schedule and salary.
Phone/email rejected. Check uniqueness and format—duplicate numbers or emails cannot be saved.