Kitchen places and statuses
A cooking place is a production zone (main kitchen, bar, grill, etc.) with its own status mode for order lines and an option to print a kitchen ticket. Each dish can be assigned to a place so POS and the kitchen screen know how to route items and which status steps to show.
The section is available to roles with restaurant settings access—the same level as General settings and the table map.
Contents:
- How to open the cooking places list
- How to add or edit a cooking place
- Statuses mode: three options
- How to assign a dish to a cooking place
- Typical scenarios and fixes
- Related articles
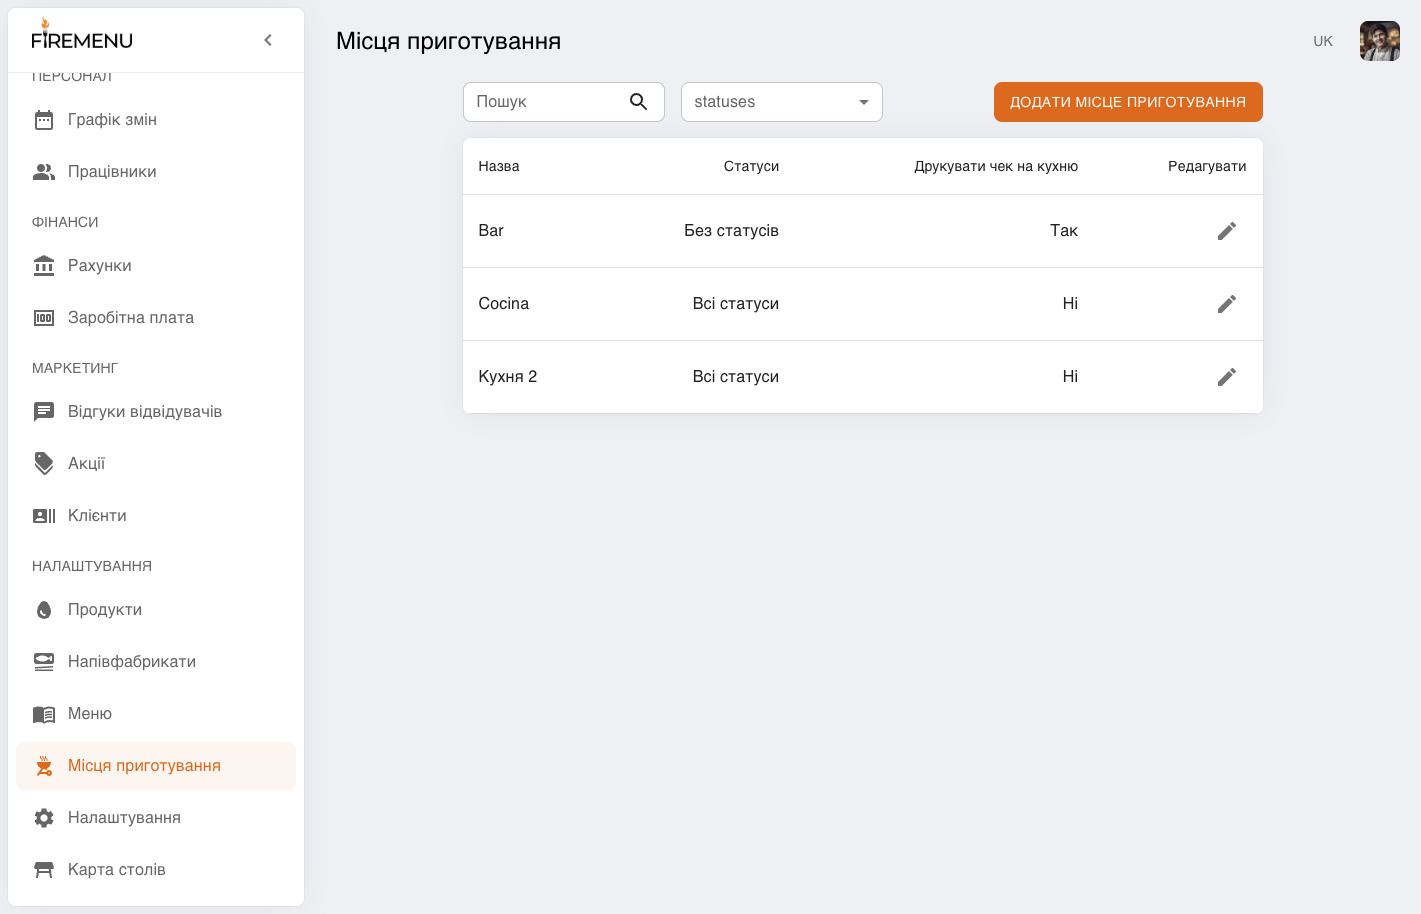
How to open the cooking places list
In the sidebar under «Settings», open «Cooking places».
The page shows a table with columns «Name», «Statuses», «Print kitchen ticket», and «Edit».
How to add or edit a cooking place
Click «Add a cooking place» to create a record, or the edit icon in a row to change an existing place.
In the modal titled «Cooking place», fill in «Name» (required).
In «Statuses», choose one of the three modes (see the next section).
Optionally enable «Print kitchen ticket» when this zone should print a ticket when items are sent to the kitchen.
Save with «Save changes» (for an existing row) or «Add» for a new one. In edit mode «Remove» deletes the place after confirmation.
Statuses mode: three options
«All statuses» — full POS line lifecycle: «Waiting» → «Cooking» → «Ready to serve» → «Served». The kitchen screen only lists cooking places that use this mode (other modes are not suitable as the dedicated kitchen monitor).
«Waiter statuses only» — in the order line editor only the ends of the chain are available («Waiting» and «Served») without intermediate kitchen steps. Useful when you do not need the full cycle for that zone but still want served/not served tracking. Such a place does not appear on the kitchen screen.
«Without statuses» — statuses are not tracked for items from this place. The place does not appear on the kitchen screen.
If you rely on the kitchen screen, create at least one place with «All statuses»—otherwise the app may show guidance that no suitable cooking place exists.
How to assign a dish to a cooking place
Open «Menu» in the sidebar and edit the dish you need.
In the dish form find «Cooking place» and pick one of the configured places.
Save the dish.
Business lunch slots can also reference a cooking place where applicable.
Typical scenarios and fixes
-
Kitchen screen is empty or warns about missing “all statuses” places. Ensure at least one cooking place uses «All statuses» and dishes that should appear there reference it.
-
Bar does not need intermediate “cooking” steps. Create a separate place (e.g. “Bar”) with «Waiter statuses only» or «Without statuses», depending on whether POS status taps are needed at all.
-
Kitchen ticket print only from the hot line. Enable «Print kitchen ticket» only for that place; leave it off for the bar if no ticket is required.