Connecting a printer to the POS terminal
This guide explains two ways to connect a printer to the POS terminal: a network printer over Ethernet or a USB printer connected directly to the POS. After setup, FireMenu can print receipts and kitchen tickets from this device or handle print jobs from additional phones and tablets.
FireMenu print settings are saved separately on each device. Configure the main POS with printers, additional tablets, and phones individually.
Option 1. Ethernet network printer
Step 1. Connect the printer to the network
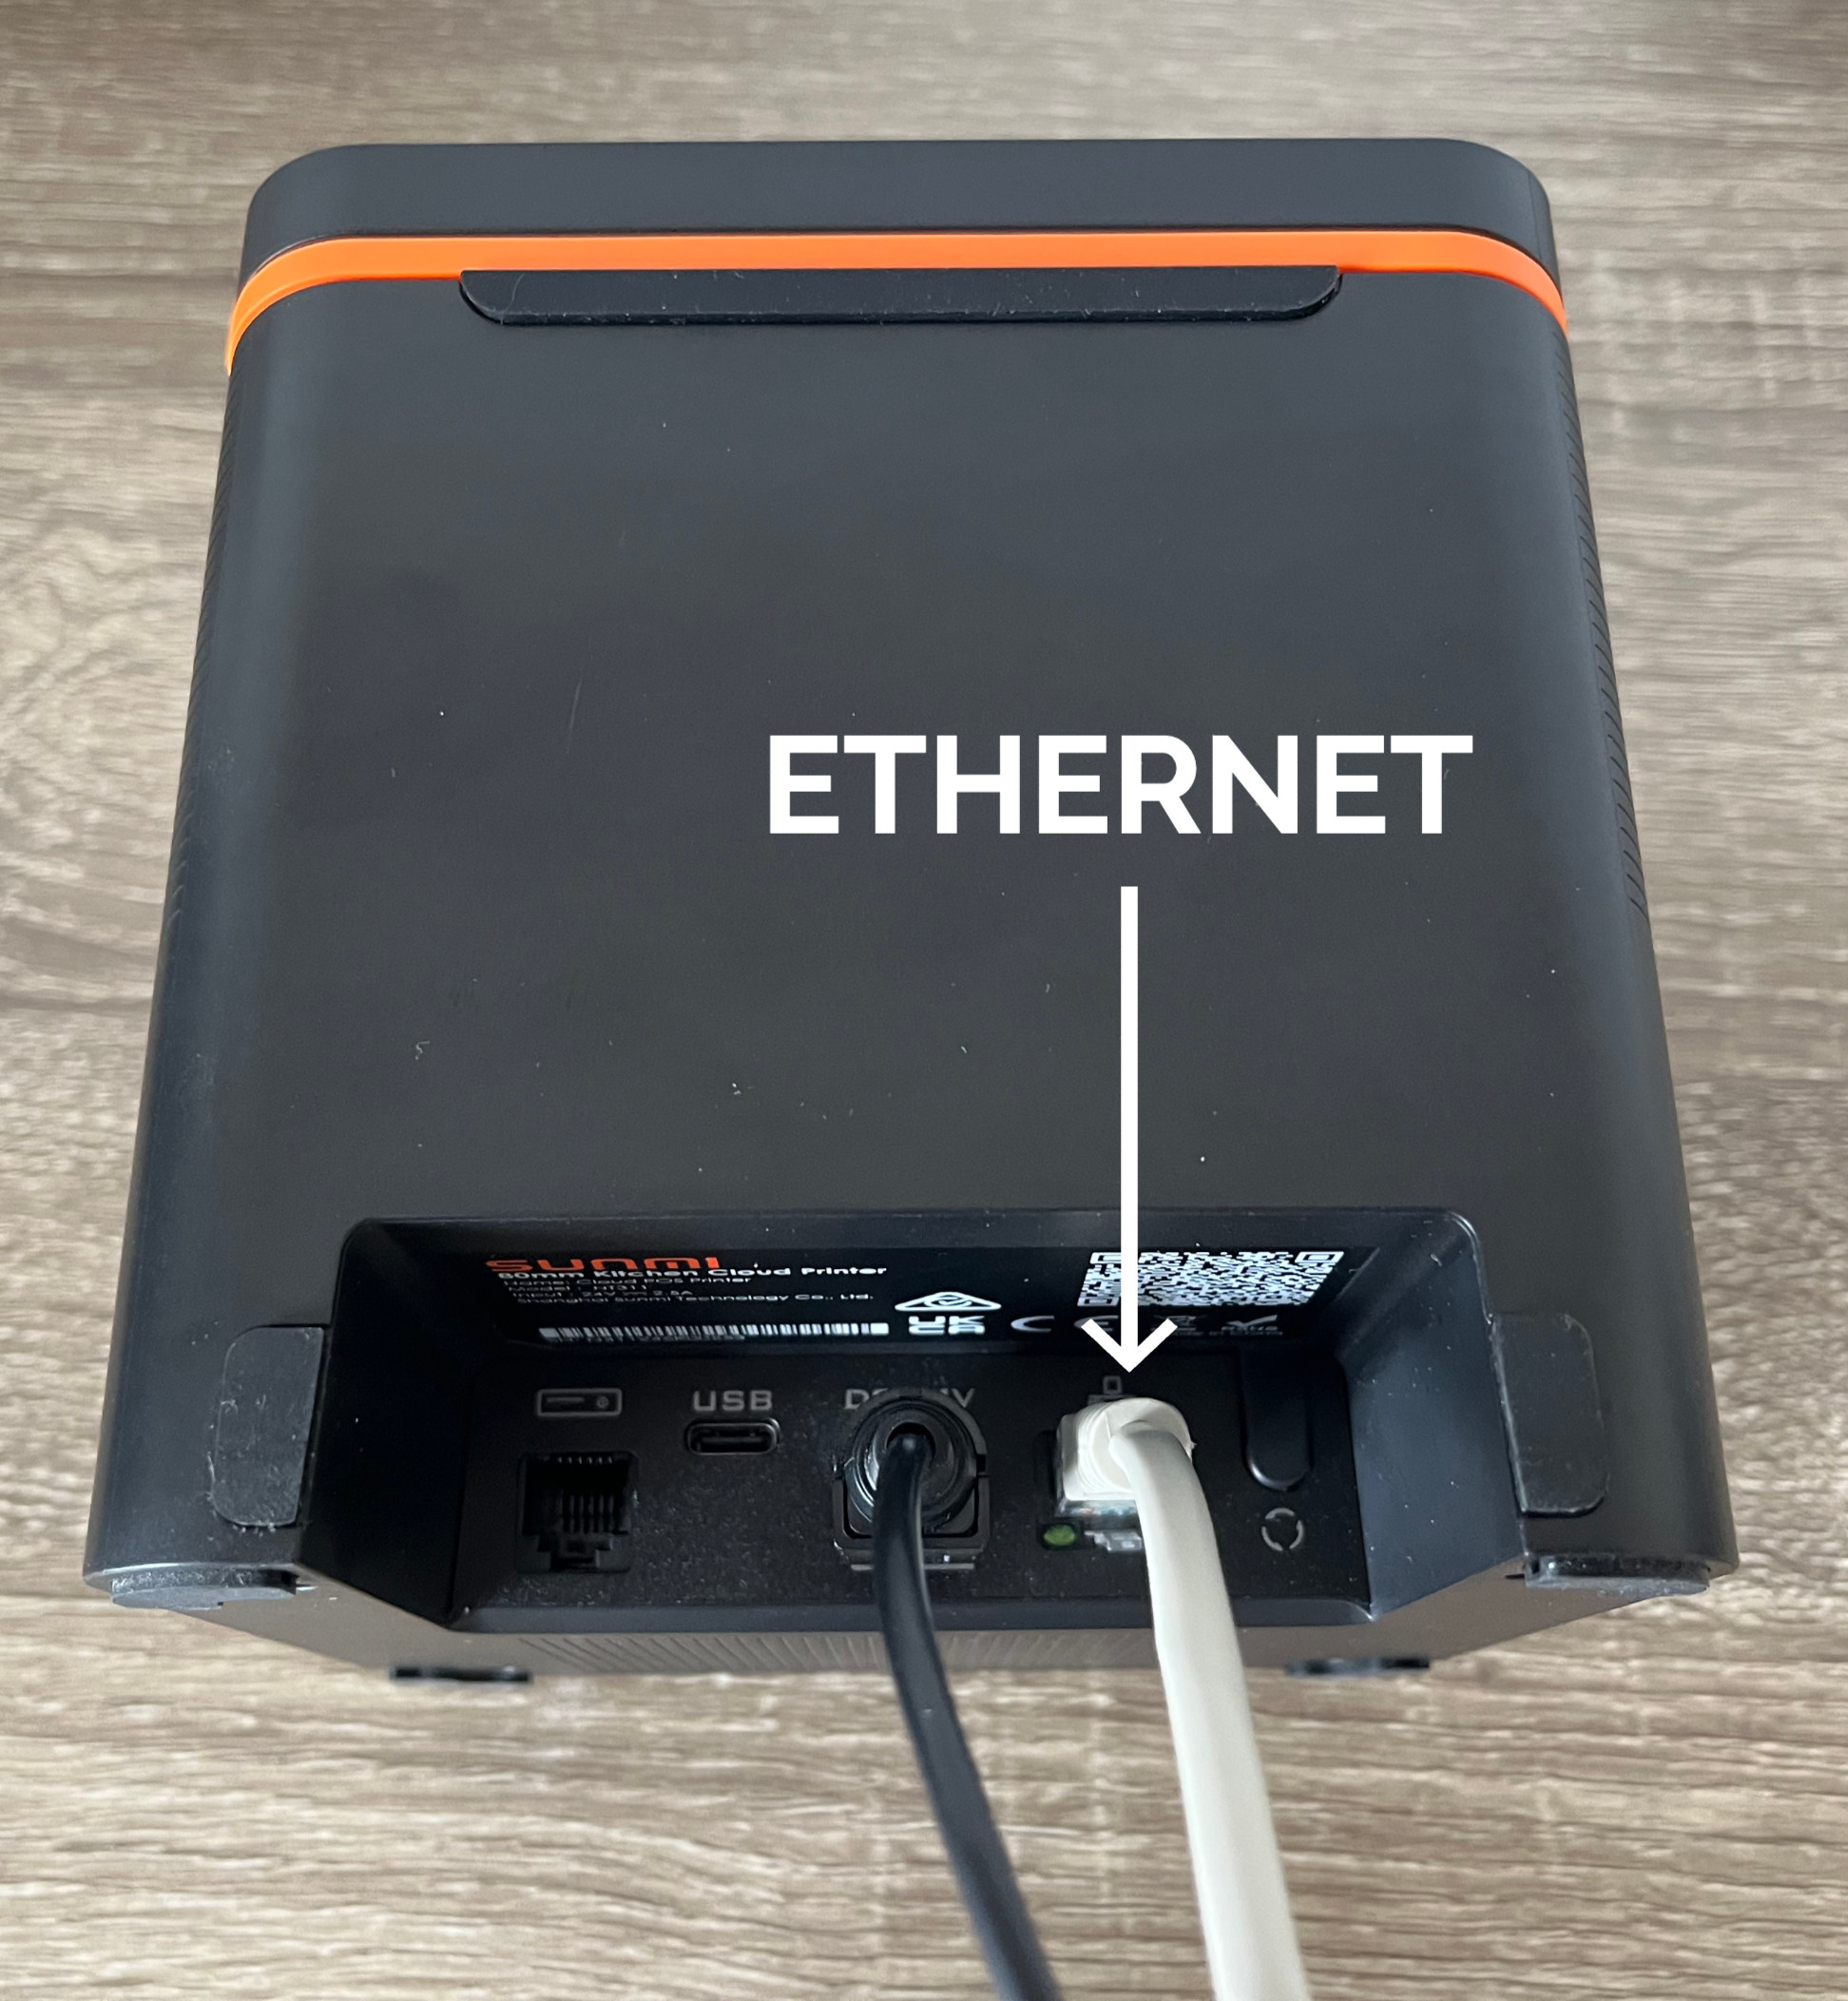
- Connect the printer to the router with an Ethernet cable.
- Turn the printer on. Wait until the blue indicator shows that the printer is on the network.
Step 2. Print the printer status
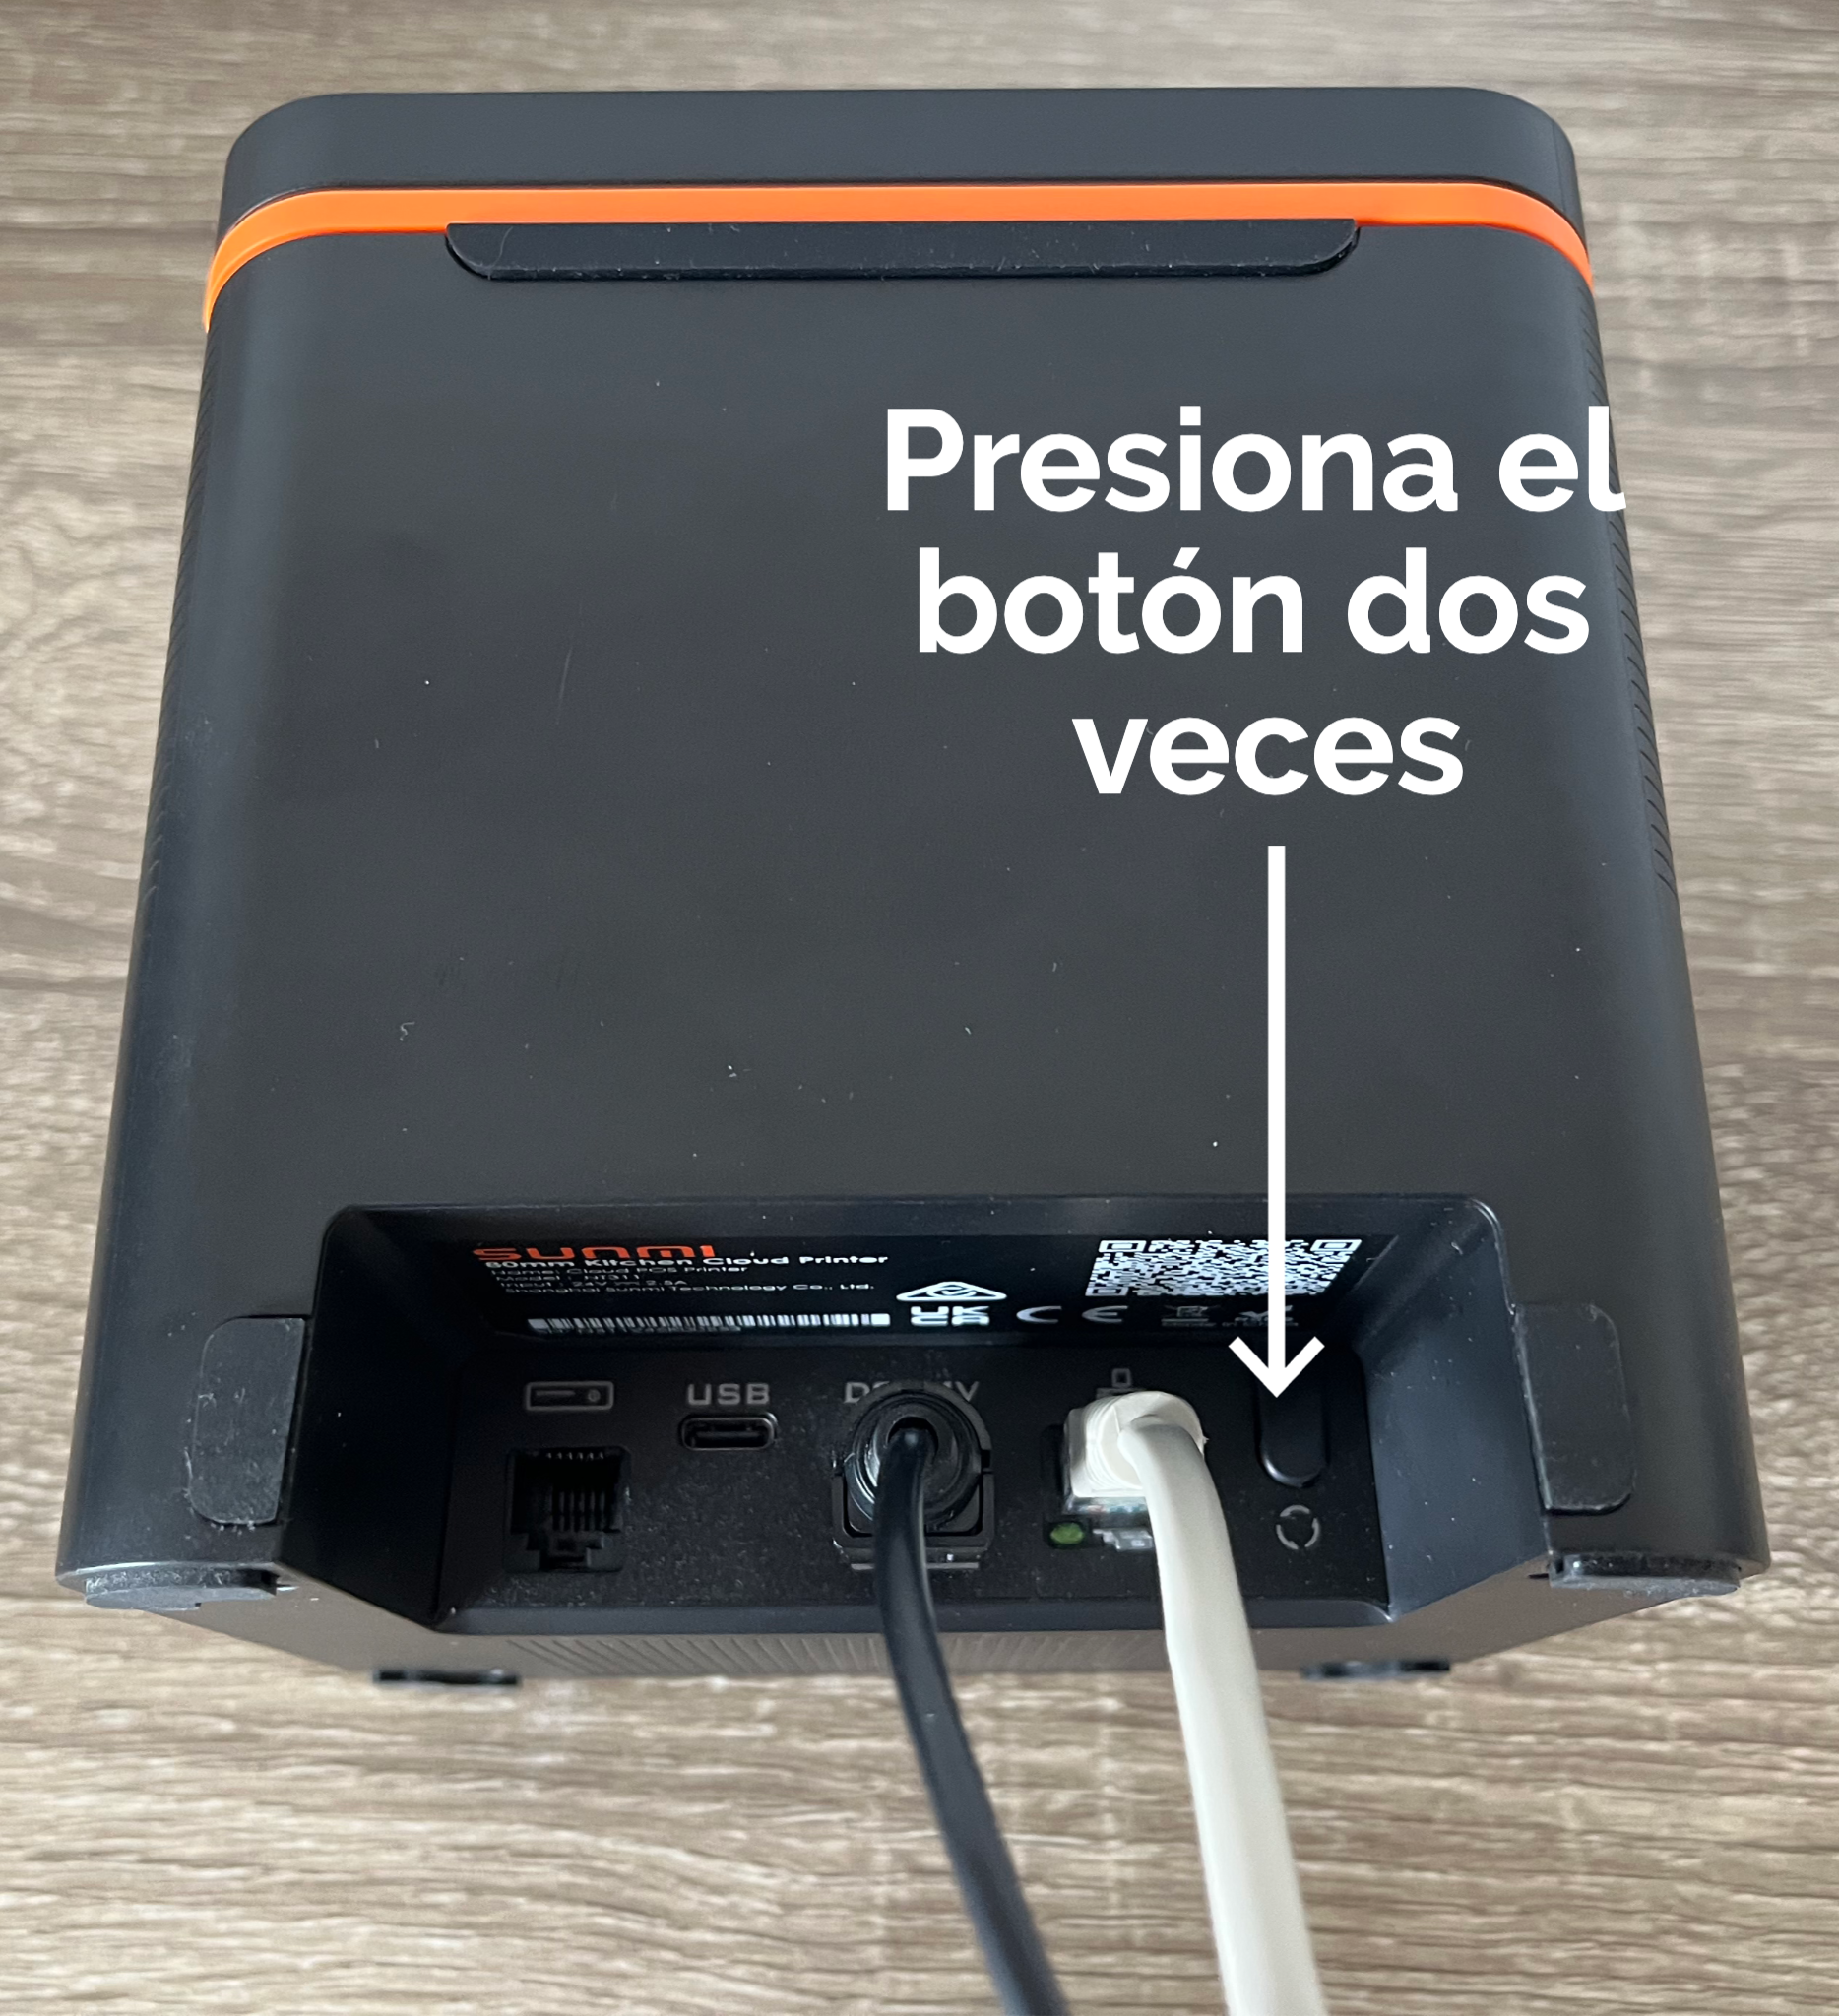
- Find the button on the back of the printer next to the ports.
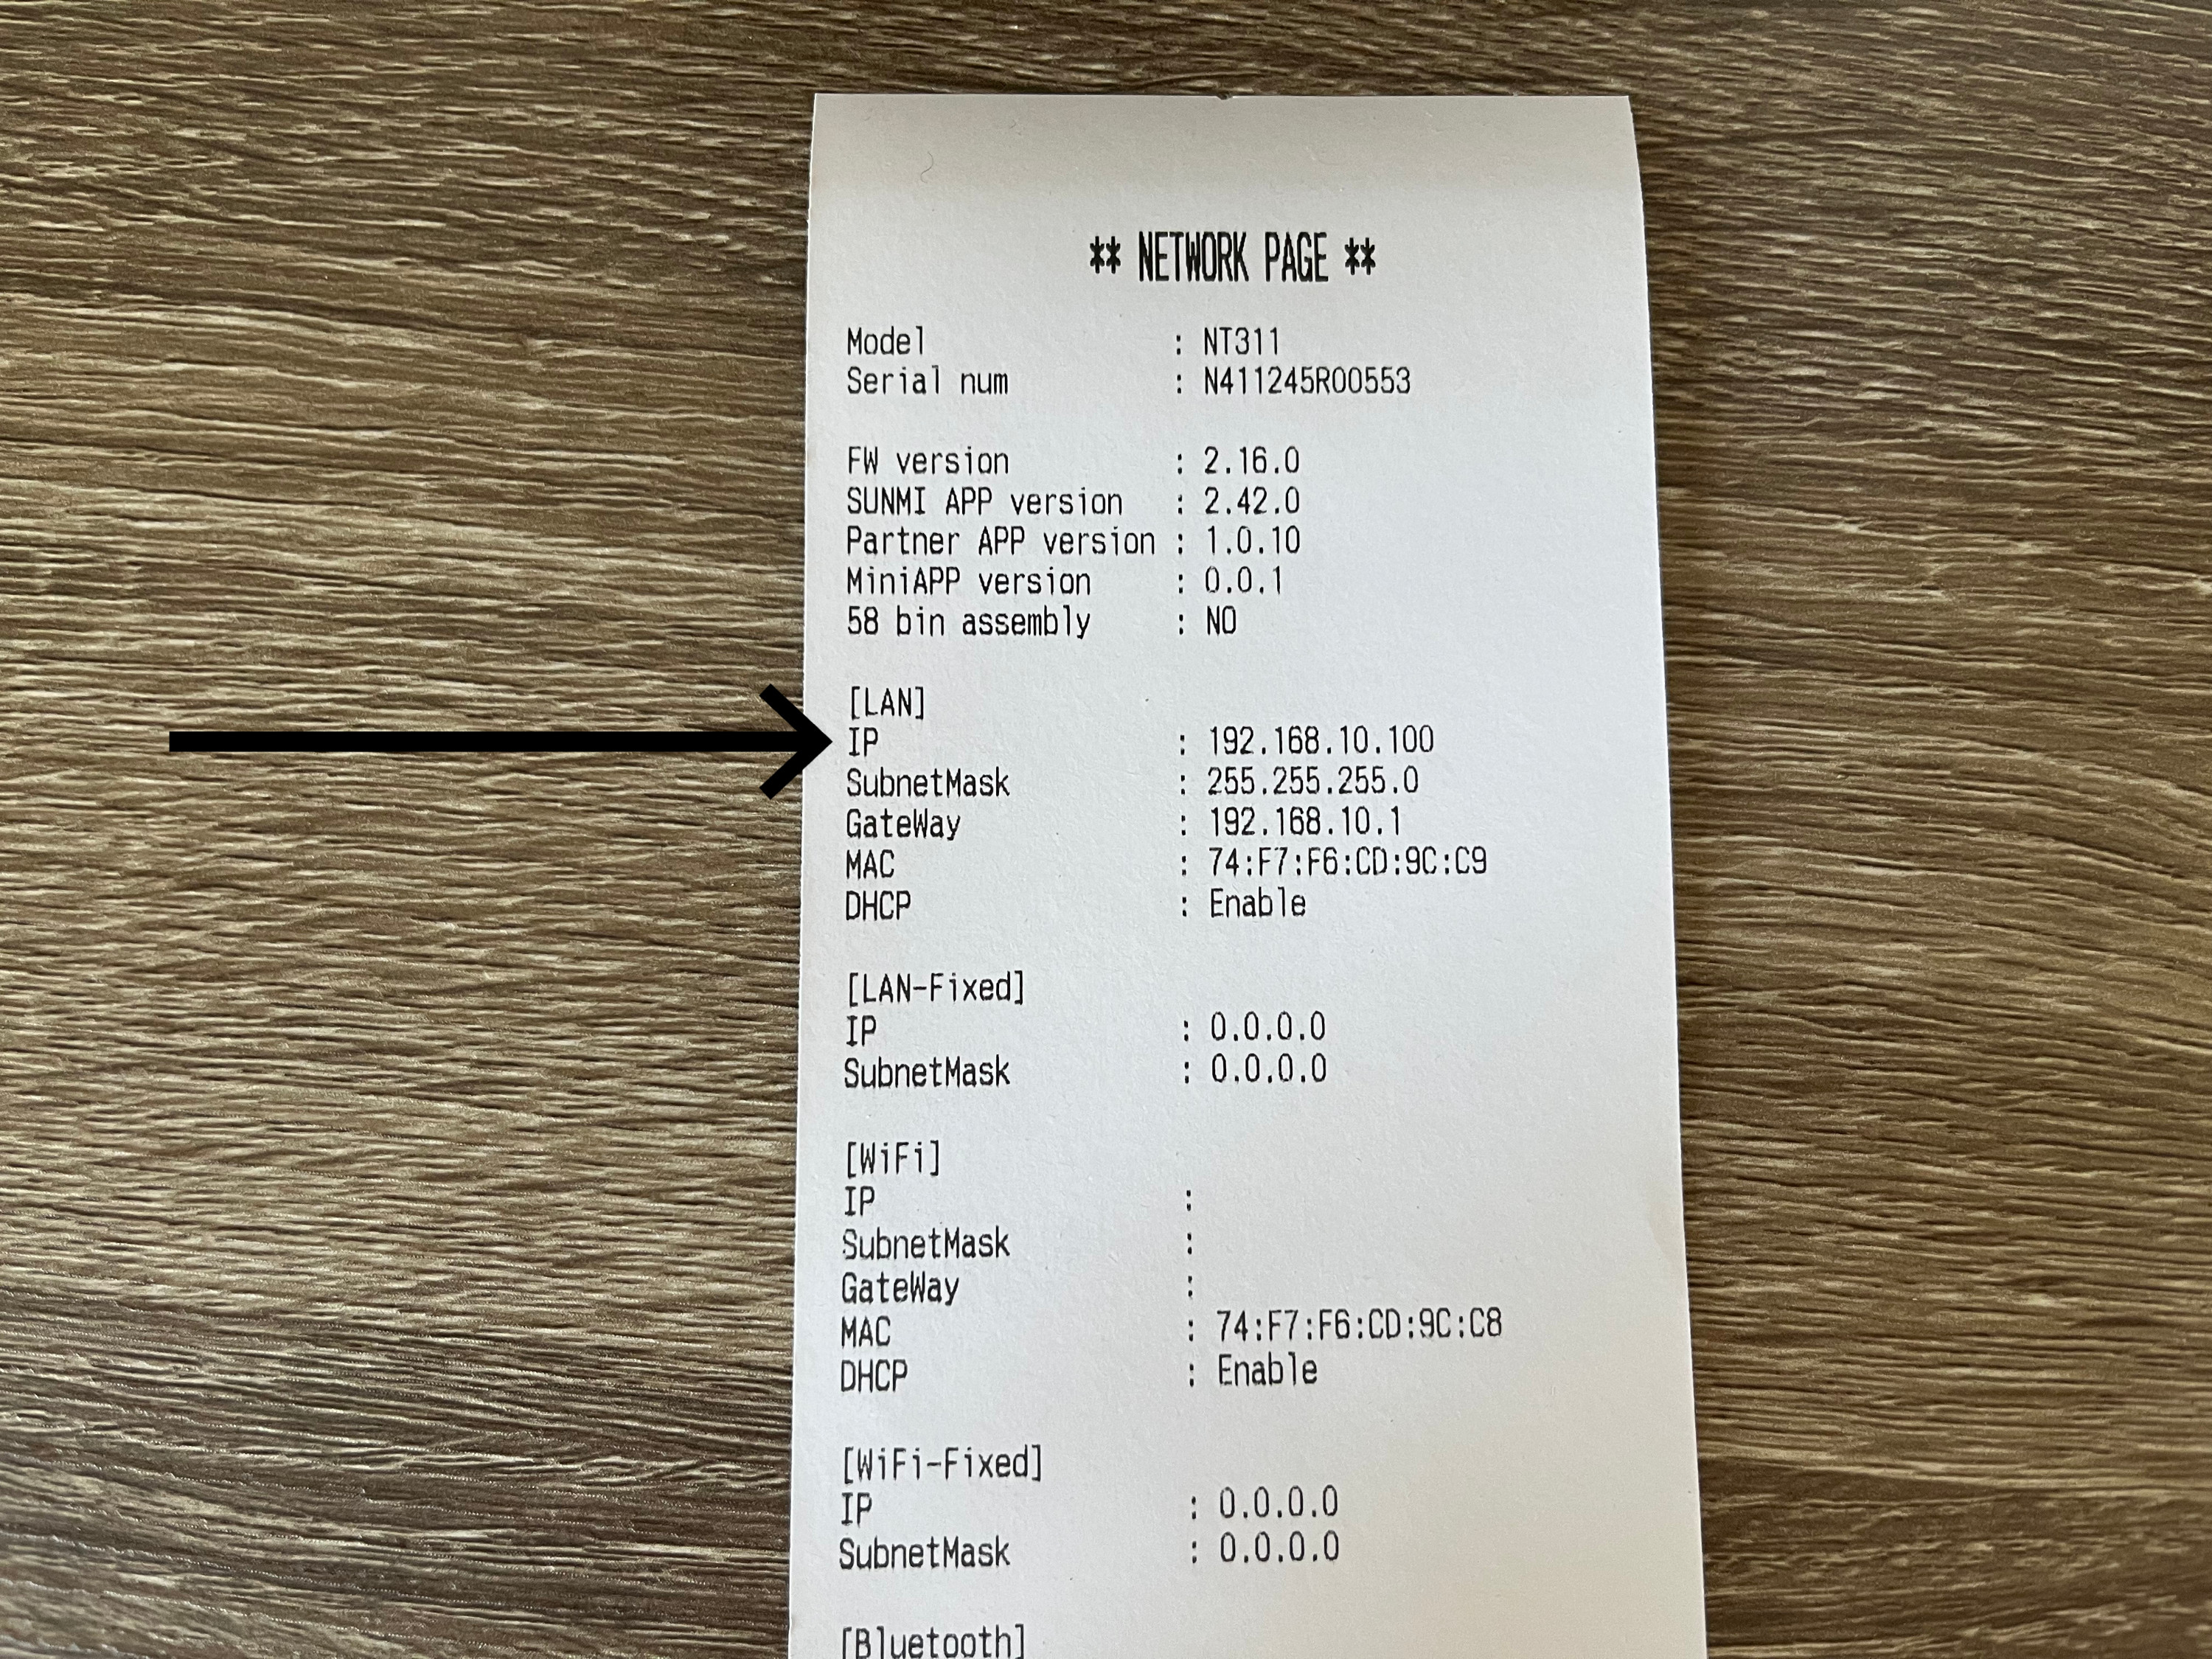
- Press the button twice to print a slip with printer status information.
- On the slip, find the printer IP address (for example,
192.168.1.100).
Step 3. Chrome settings on Sunmi D3 Pro
- Open Chrome.
- In the address bar, enter:
chrome://flags - In the search box, find “Insecure origins treated as secure”.
- In the flag’s text field, enter the printer IP as
http://plus the address (for example,http://192.168.10.100). If other URLs are already listed, add the new one separated by a comma, for example:http://192.168.1.100,http://192.168.1.200 - Set the flag to Enabled.
- Click Relaunch at the bottom right of the browser.
- After restart, close Chrome.
Step 4. Network printer settings in FireMenu
- Open FireMenu on the POS that has the printers connected.
- Click the avatar / profile menu in the top-right corner.
- Select Print settings.
- In This device name, enter a clear name such as Main POS or Bar.
- Under How this device prints, choose:
- Main POS with printers — when printers are connected to this device and it should also print documents from other devices.
- This device prints by itself — when printing is needed only from this device.
- Click Add printer and fill in:
- Name — a label for the printer (for example, “POS”).
- Type — Network printer.
- IP address — the address from the status slip (for example,
192.168.1.100).
- Choose what to print on this printer:
- POS terminal — terminal receipts.
- Cash drawer — if a drawer is wired to the printer and you need open pulses.
- Switches with your kitchen names (they may appear as “Kitchen”, “Bar”, etc.) — for kitchen tickets per area.
- Click Done to save the settings on this device.
After saving, run a test print from the POS; if everything is correct, the slip should appear on the printer.
Option 2. USB printer
A USB printer is connected directly to the POS terminal. It does not need an IP address, Ethernet cable, or special Chrome settings, but Chrome must be allowed to access the USB printer.
Step 1. Connect the printer to the POS
- Connect the USB printer to the POS terminal with a USB cable.
- Turn the printer on and make sure it has paper.
- Open FireMenu in Chrome on the same POS where the printer is connected.
USB printing works only from the device where the printer is physically connected. If a waiter phone or tablet should print through this USB printer, set the POS as Main POS with printers and set the additional device as Additional device without printers.
Step 2. Add the USB printer in FireMenu
- Click the avatar / profile menu in the top-right corner.
- Select Print settings.
- In This device name, enter a clear name such as Main POS.
- Under How this device prints, choose:
- Main POS with printers — when this POS should also print documents from other devices.
- This device prints by itself — when printing is needed only from this POS.
- Click Add printer and fill in:
- Name — a label for the printer, for example USB POS.
- Type — USB printer.
- Choose what to print on this printer: POS terminal, Cash drawer, or the required kitchens.
- Click Done.
After saving, FireMenu may show a Connect the USB printer window. Click Connect, choose the printer in the Chrome window, and allow access. Then run a test print from the POS.
Additional devices without printers
On a waiter phone or tablet, open profile menu → Print settings and choose Additional device without printers. Print jobs from that device will be handled by the main POS with printers.
Common issues
- A network printer still does not print after first-time setup — follow Sunmi printer troubleshooting (network, Chrome, IP in print settings, static IP).
- Chrome cannot print to the printer IP — check Insecure origins treated as secure and that the value uses
http://with the correct IP. - The USB printer does not appear in the connection window — check that the printer is on, connected to this POS by USB cable, and FireMenu is open in Chrome on the same device.
- FireMenu asks to connect the USB printer again — click Connect again. Chrome may ask for permission again after changing the USB port, clearing browser data, or restarting the device.
- Printer not on the network — confirm the cable is in an active router port and the network LED is OK; the IP on a new status slip may change after DHCP renewal.
- Missing print target in FireMenu — kitchen names come from venue configuration; if a switch is missing, ask your administrator.
Related articles
- Sunmi printer troubleshooting — if a network printer does not print after setup: network, Chrome, IP in FireMenu, static IP.
- Multi-user terminal — when one device serves several areas.
- Kitchen screen — separate display or printing from the kitchen.
- Invoice print layout — how the guest bill looks.